How to paint a raspberry
Have you ever wanted to know how to paint a raspberry in a way that captures its unique looking texture?
If you’ve ever tried to paint a raspberry and it hasn’t turned out looking as realistic or 3D as you’d hoped, it’s because there’s something of a knack when it comes to how to paint a good raspberry.
They have a subtle translucency and slight fuzz texture to them, and it can be difficult to recreate these effects in a painting. Often, a raspberry painting will end up looking too opaque or flat.
Their many little sections can also make them a daunting subject to even try to paint.
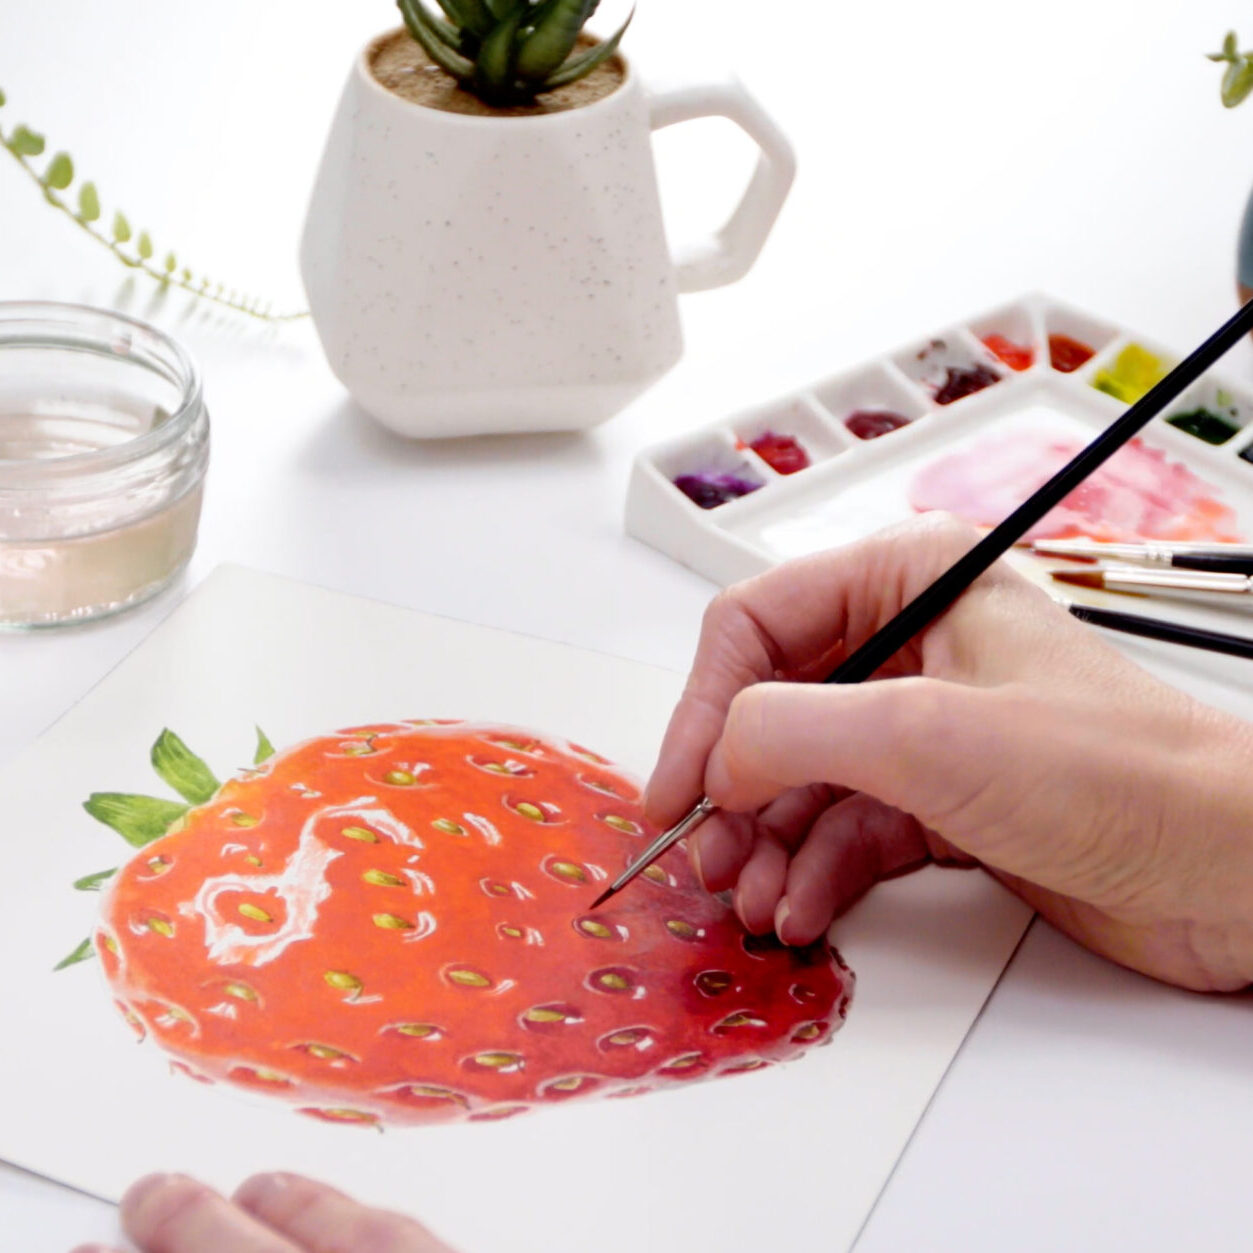
But creating a realistic raspberry painting needn’t be a challenge if you follow the steps I share with you in this mini class.
Once you know how to paint a raspberry in watercolor, your results will have your mouth watering.
As you’ll see, working in layers is key. And keeping those initial layers super watery will give your watercolor raspberry that late-summer glow.
(You’ll also see that I discovered a new talent if you watch to the end!)
I really hope you’ve found this mini class helpful and that now you know how to paint a raspberry, you’ll have a go at painting your own. When you use the technique I’ve shown you here, you’ll find that it’s an enjoyable and meditative process.
And I’m pretty sure your appreciation for raspberries will go to new levels.
If you enjoy this class and want to paint soft fruit in other textures and forms, check out the velvety peaches, glossy cherries, bloomy blueberry and shiny blackberry.
Do you love raspberries as much as I do? Have you had trouble painting them in the past? Will you be trying the techniques I’ve shared here? I’d love to hear from you in the comments below.
Browse more blog posts
Share this post!
6 Comments
Leave a Comment
Share this post!
Subscribe to blog updates
Blog Updates
The information you provide here will be used only to deliver the email course, along with other relevant updates from me. You can unsubscribe anytime. Click here for our privacy policy.


Hi Anna, have done pencil of lilly.
And will hopefully start next on this free list Thursday.
Look forward to doing raspberry in time. Thank you.
Kind regards Janine x
Really wonderful
I did all of the tutorials and they were wonderful. I never thought that I would be able to achieve such beautiful results. Thank you so much , you have inspired me to keep going
Thank you for sharing, its beautiful.
Starting on this one soon. Looking forward to returning to lessons one day soon.
thankyou anna always so inspiring I’ll definitely try out this technique