How to paint a 3D blueberry with bloom
When we look really closely at a natural subject, it’s amazing how many details we can see.
Even on something as tiny as a blueberry.
Its surface is covered in an iridescent, powdery coating called ‘bloom’, and in that bloom are loads of little scratches and other markings.
It’s a bit like a miniature planet.
If we want to capture all this detail in a painting, it helps to work larger than life.
In this video, I’ll guide you through the process of painting a detailed, 3D blueberry.
We won’t use any white paint to create the bloom effect, which might surprise you.
We’re actually going to paint the bloom first.
Take a look at the video and find out how:
I hope this video has inspired you to paint your own 3D blueberry, covered in bloom. I love to paint these; they’re a great subject for beginners too.
And I hope that next time you’re holding a blueberry, you’ll pause to look at it really closely, and notice all of its tiny details.
I’d love to hear how you get on if you give this painting a go, so let me know in the comments below. And do leave me a message if you enjoyed the video. I love to read them!

Browse more blog posts
Share this post!
10 Comments
Leave a Comment
Share this post!
Subscribe to blog updates
Blog Updates
The information you provide here will be used only to deliver the email course, along with other relevant updates from me. You can unsubscribe anytime. Click here for our privacy policy.




Excellent, eye-openingblueberry bloom demo! The inclusion of another use of photos, e.g., a macro image, also appreciated! Going up-side-down was a good reminder as well, even though not new. So, a “three for” in this one lesson, plus more not mentioned. Well planned!
Love the blueberry video
I love these mini videos via newsletter they are a great way to motivate us and keep us coming back when we are not quite ready to commit fully yet. This has enticed me to become a member to your other videos when I am finished with some other courses I am doing. So it’s defiantly worthwhile offering these. Thanks so much.
Lovely, you make it look so easy.
Thank you for sharing .
I will give it a go
You are so talented! I love your realistic approach to painting! I’ve been taking skillshare classes, and painting almost everyday on my own, and although my painting has certainly improved I need more instruction. I’d love to someday be as good as you! This email/newsletter came at the right time, to nudge me into signing up (hopefully it’s a nice discounted price) the thing is, I’ve tried twice in the past to sign up on 1/2 price deals, but couldn’t because I live in the US and there was a problem accepting my payment. Is there a better way to make a payment? Please help me to figure this out before I loose another opportunity to learn from the best! Thankyou, and blessings.
Beautiful and inspiring as usual Anna.
Excelent explanation! watercolor wow!! Thank you.
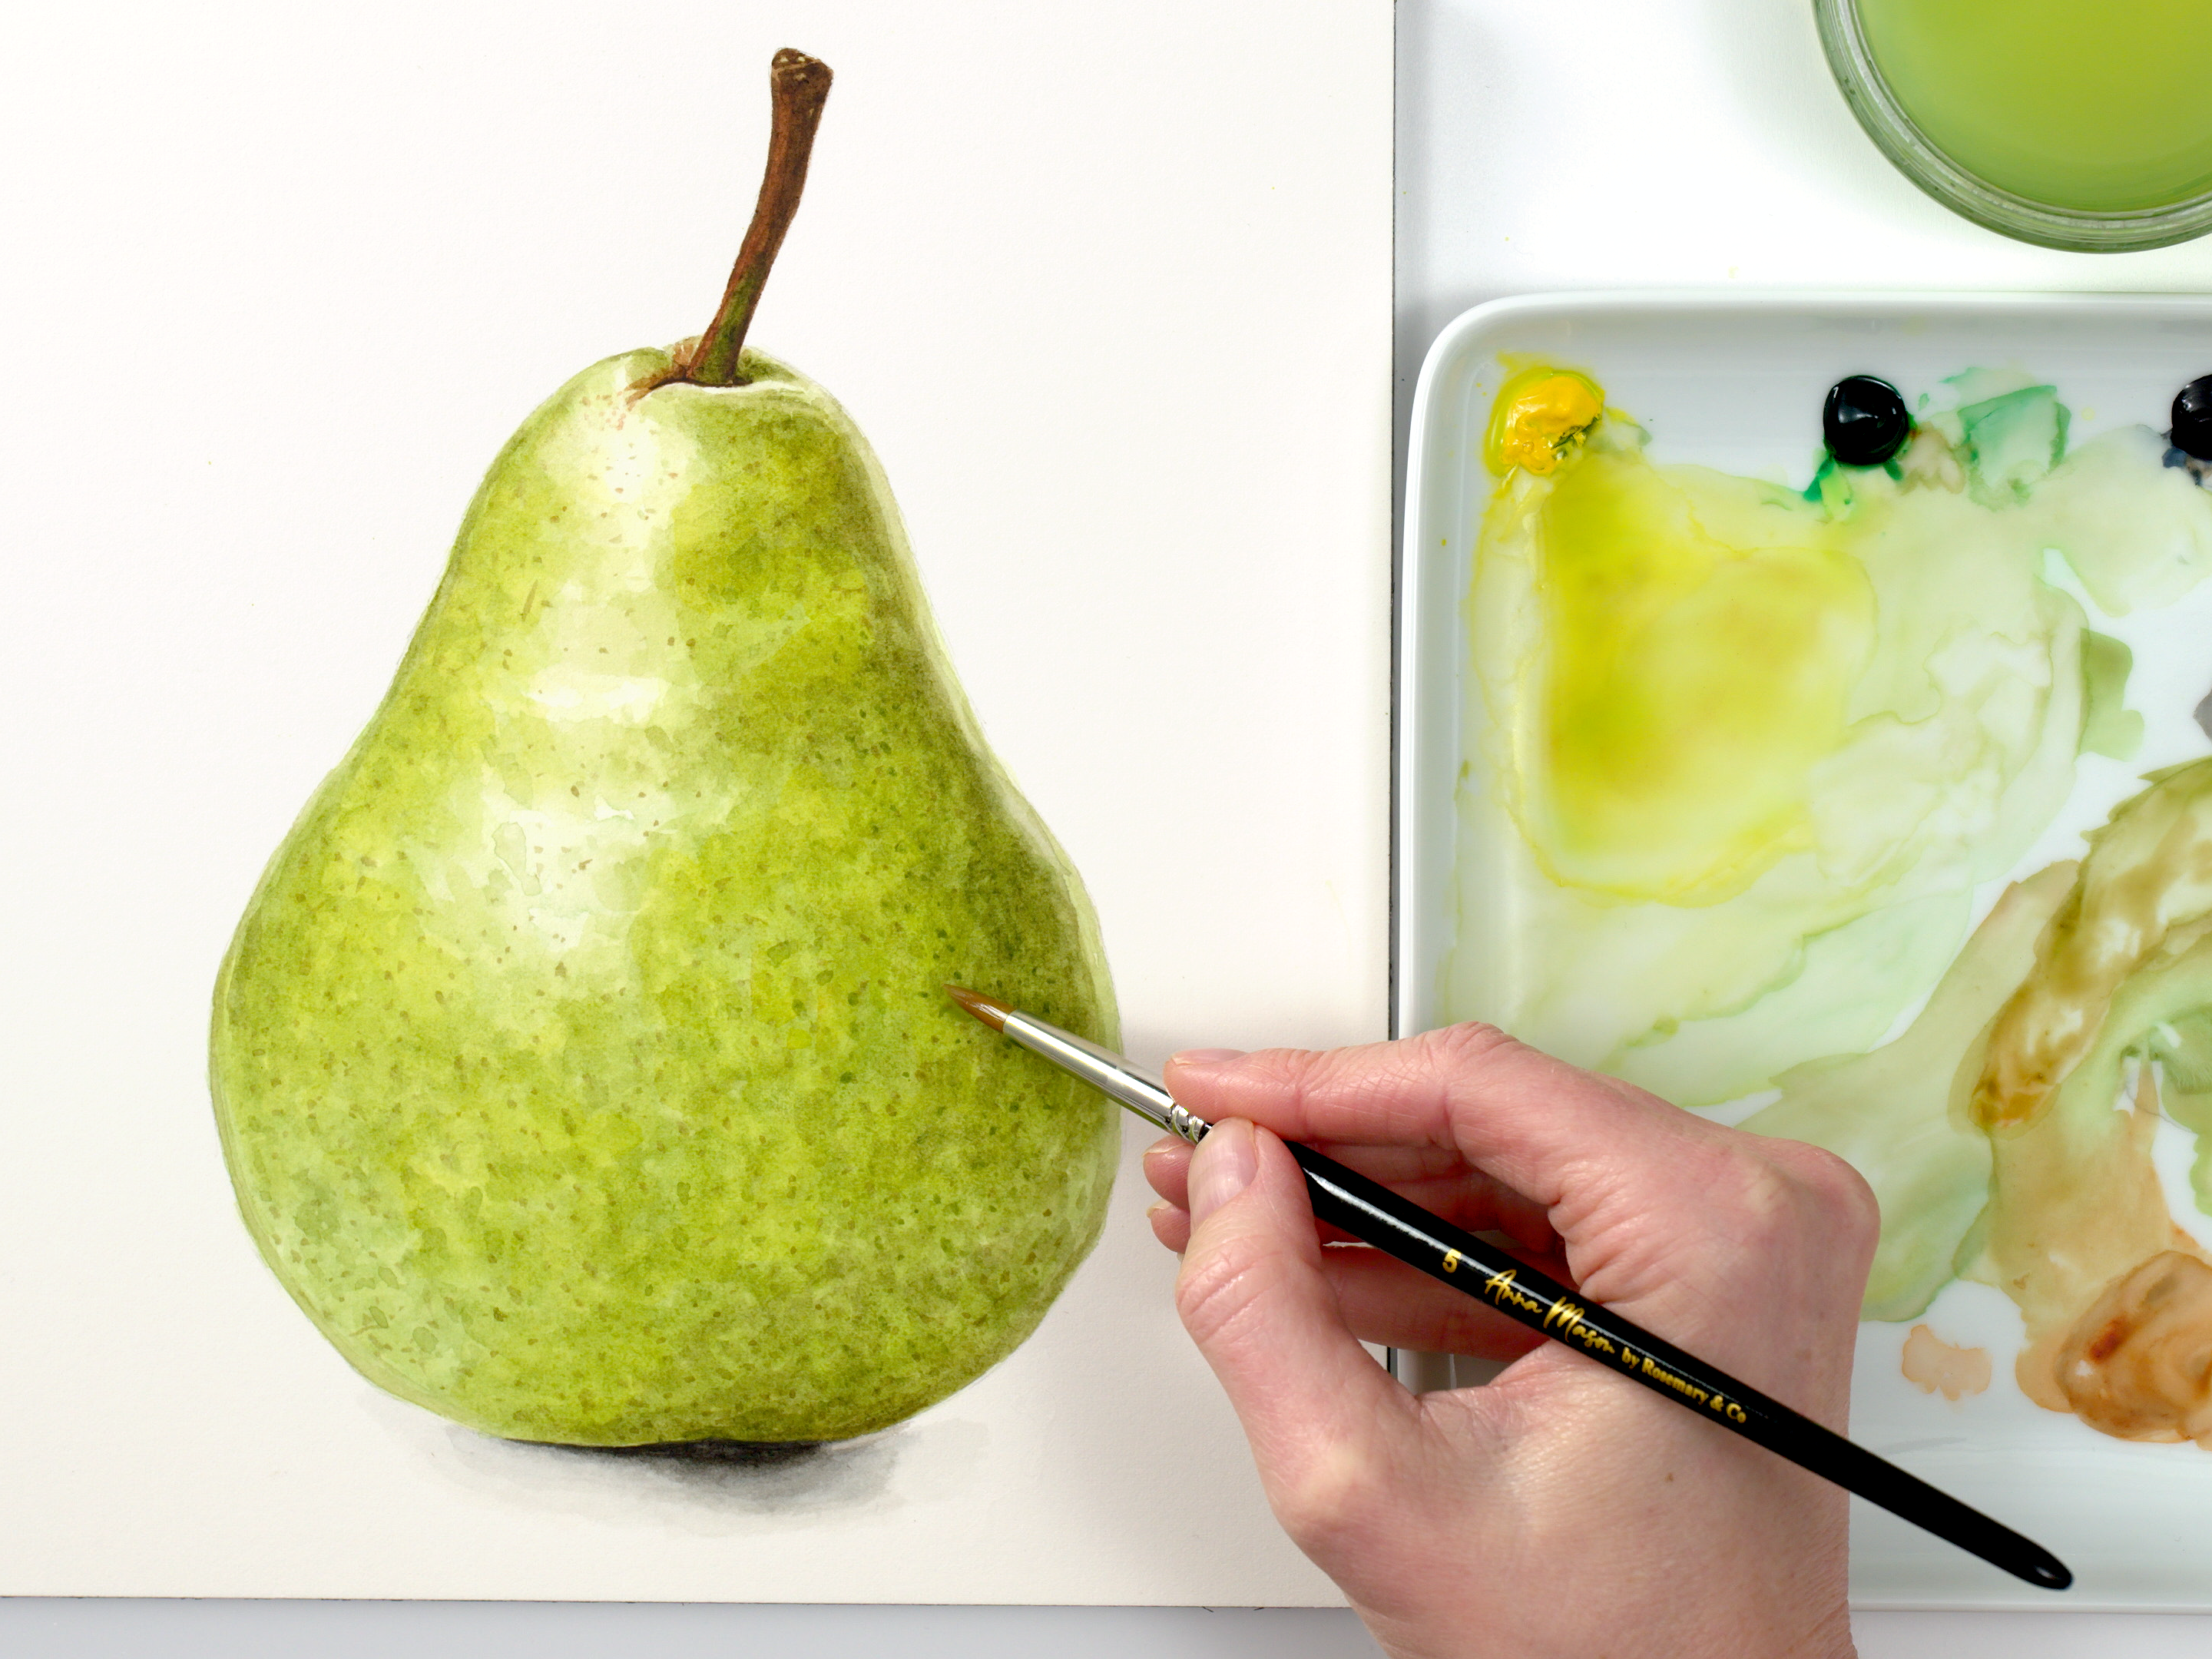
It is the detail and realism I like and your technique to get to your final image. But rather than watercolour on paper, I want to use this technique to do the painting on fabric – on cotton poplin. If I’m making art I want to wear it on the garments I make! I’ve done the free class of the pear twice – painting on fabric using Derwent’s Inktens with aloe gel as the medium and got so so results. Its the looking and the seeing that makes me nervous – as well as the brushwork skill and the colour mixing and worring if it is a light colour or a mid-tone I’m seeing and how to mix that colour on the palate. The limits are my skill … and maybe the medium. Does the technique work on fabric? I’ve used the occilating light dark mindtones light dark technique with other images of botanicals and gradually getting better results. I think I’m ready to sign up and at least get the technique.
I’m all about the tea break strategy! 🙂 Great work and appreciate you sharing your expertise.